User’s Guide
Interactive Mode(Live Mode)
Usage Introduction
In Interaction Mode, the ICRobot can establish communication with a PC via Serial Port, Bluetooth, AP Mode, or STA Mode, allowing users to program and control the robot to perform various actions.
Steps
|
|
|---|---|
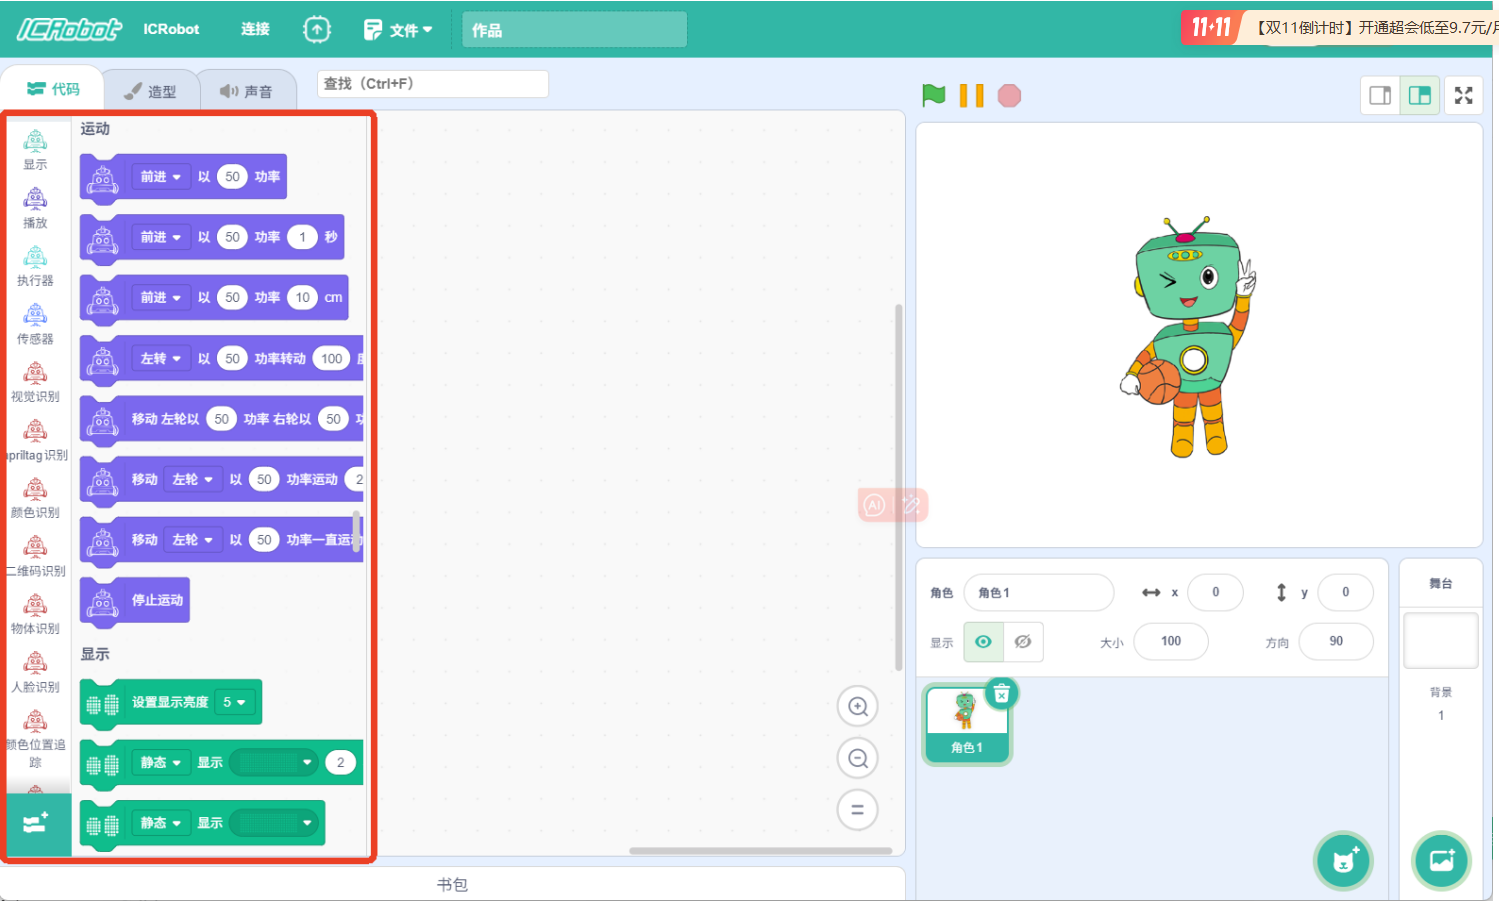
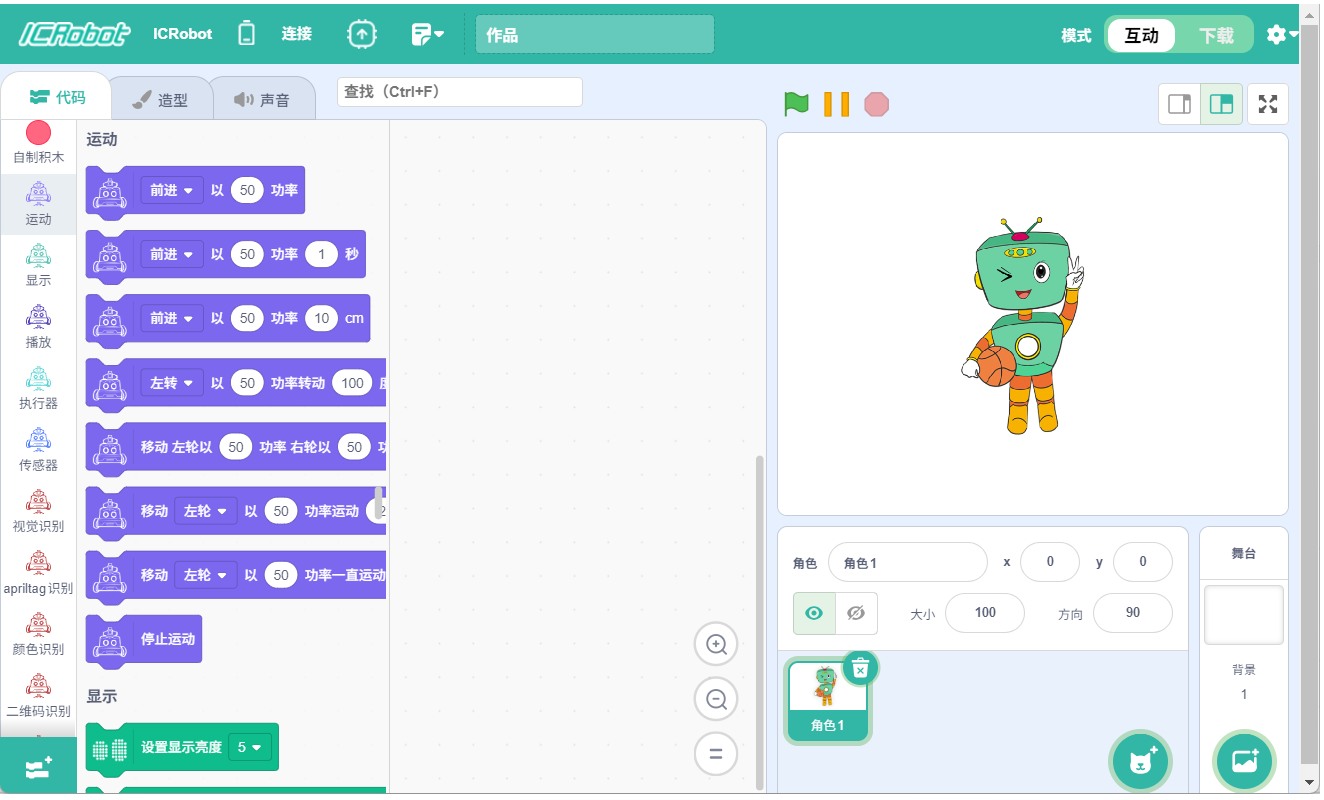
Step 1: Power on both the ICRobot and the ICreate Code software. Switch the software to “Interactive Mode”, |
Step 2: Once successfully connected, the block command area will automatically load ICRobot-related extension blocks. |
|
|
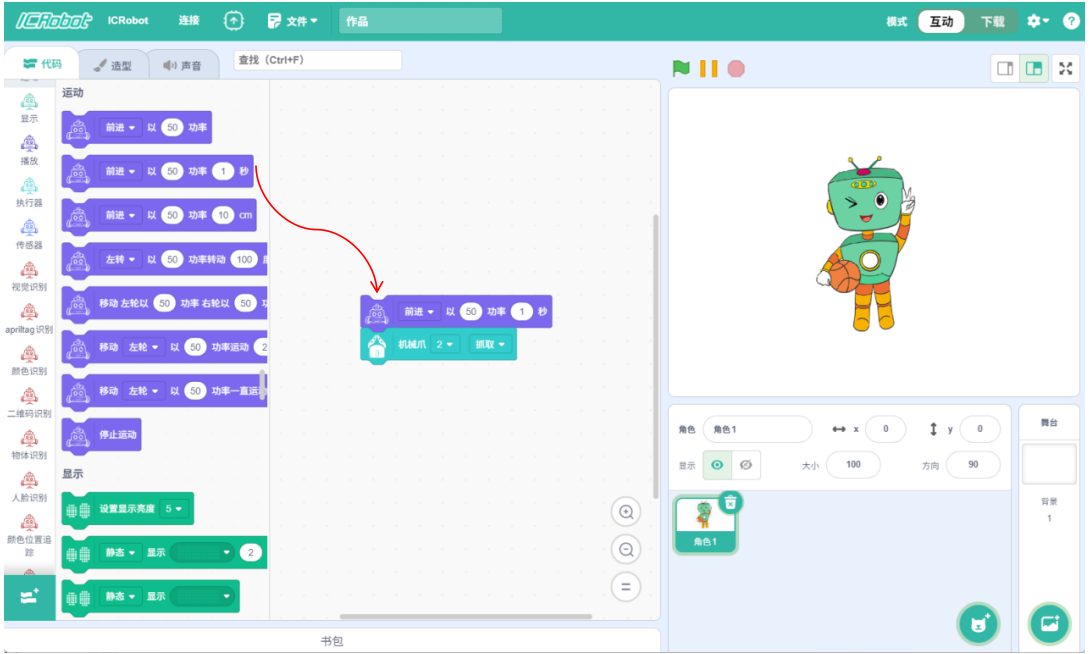
Step 3: Drag the blocks into the coding area to start coding. |
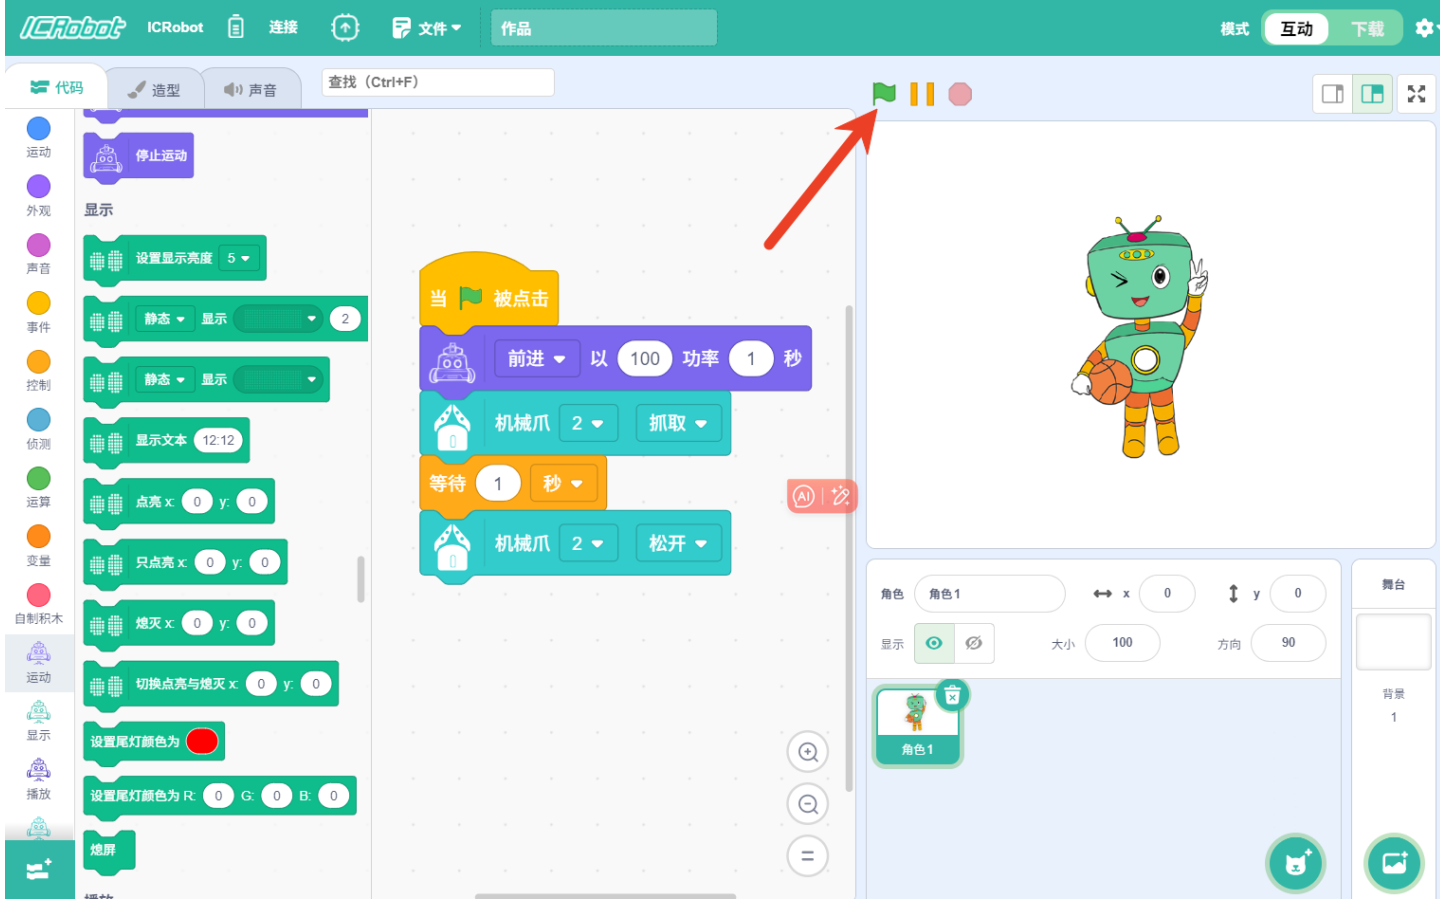
Step 4: After programming is complete, click the green flag to execute the program and observe the result. |

Example
Scenario
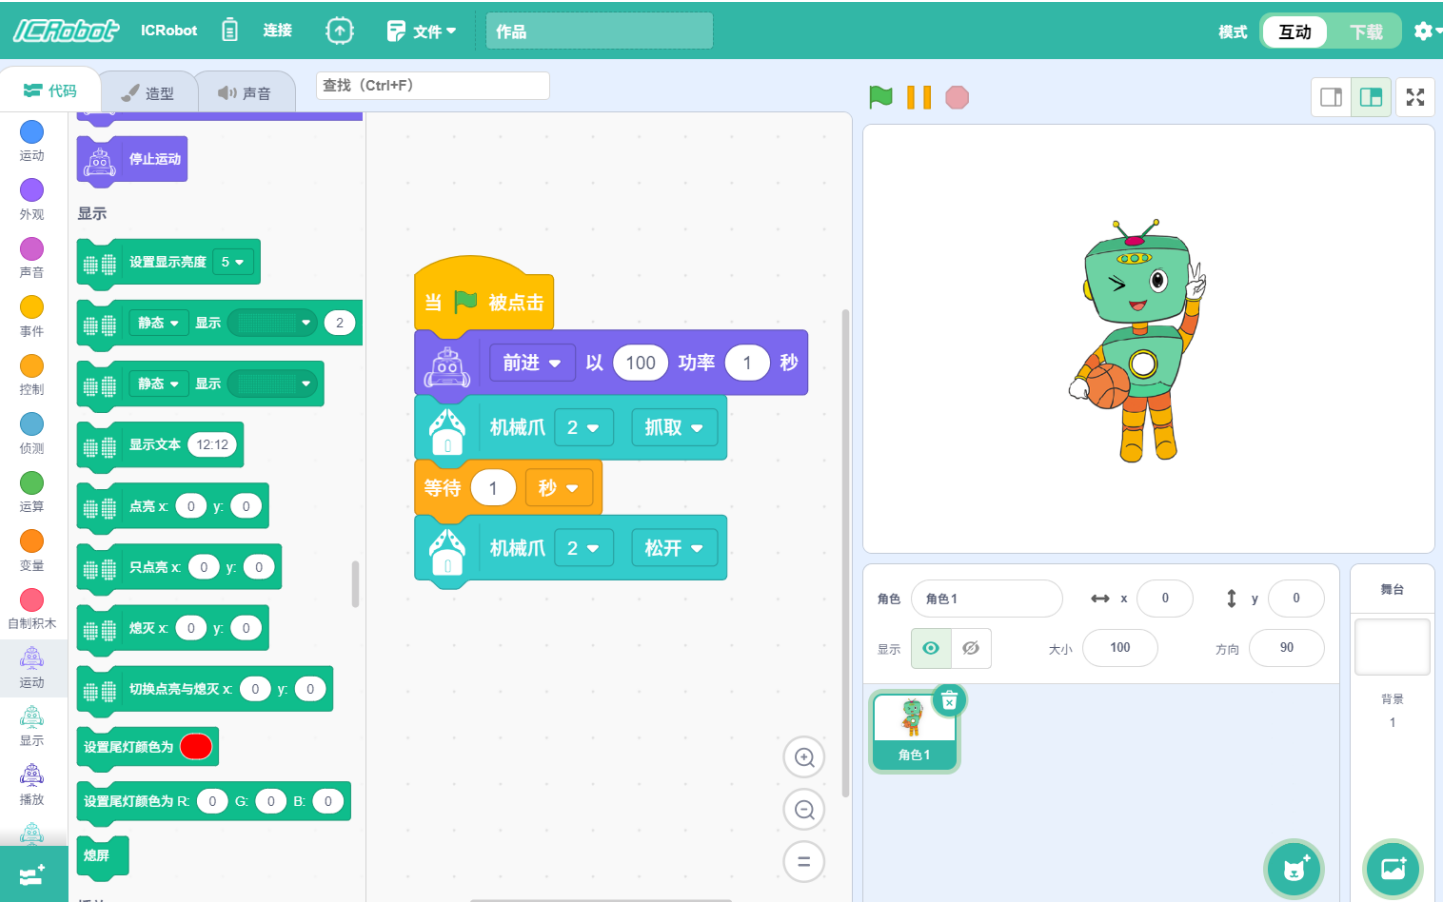
Using AP mode, ICRobot connects to the PC and moves forward at full power for 1 second, then activates its robotic gripper once.
Preparation
|
|
|
|---|---|---|
A computer (Windows/macOS) |
ICreateCode Software |
ICRobot |
Steps
|
|
|---|---|
Step 1: Power on ICRobot and switch to AP mode via the SET menu. |
Step 2: Open ICreateCode, check the ICRobot name under PC WLAN settings, |
|
|
Step 3: Once connected, program the desired behavior. |
Step 4: Click the green flag to run the program and observe the robot’s actions. |
Demonstration
Download Mode
Usage Introduction
Programs created in the software can be downloaded to the ICRobot for independent execution. The steps are as follows:
Determine the download location of the programme in the software.
Download the program into one of ICRobot’s five internal storage positions.
Based on the program content, the robot will perform the corresponding action commands.
Steps
|
|
|---|---|
Step 1: Power on both the ICRobot and the programming software. In the software, switch the mode to Interaction Mode, |
Step 2: Once connected, the Block Instruction area will automatically load ICRobot-specific extension blocks. |
|
|
Step 3: Drag blocks into the coding area to begin creating your code. While doing so, the Python Code Area will |
Step 4: After completing the code, click the Download option in the Hardware Control Panel. |
Example
Scenario
Using STA Mode, ICRobot connects to the PC. After downloading, the robot drives forward at maximum power for 1 second, then displays a custom dot-matrix pattern on its LED screen. The program is saved in 3 of ICRobot’s memory.
Preparation
|
|
|
|---|---|---|
A computer |
ICreateCode Software |
ICRobot |
Steps
|
|
|---|---|
Step 1: Power on ICRobot. Switch to SET Mode, then select STA Mode. |
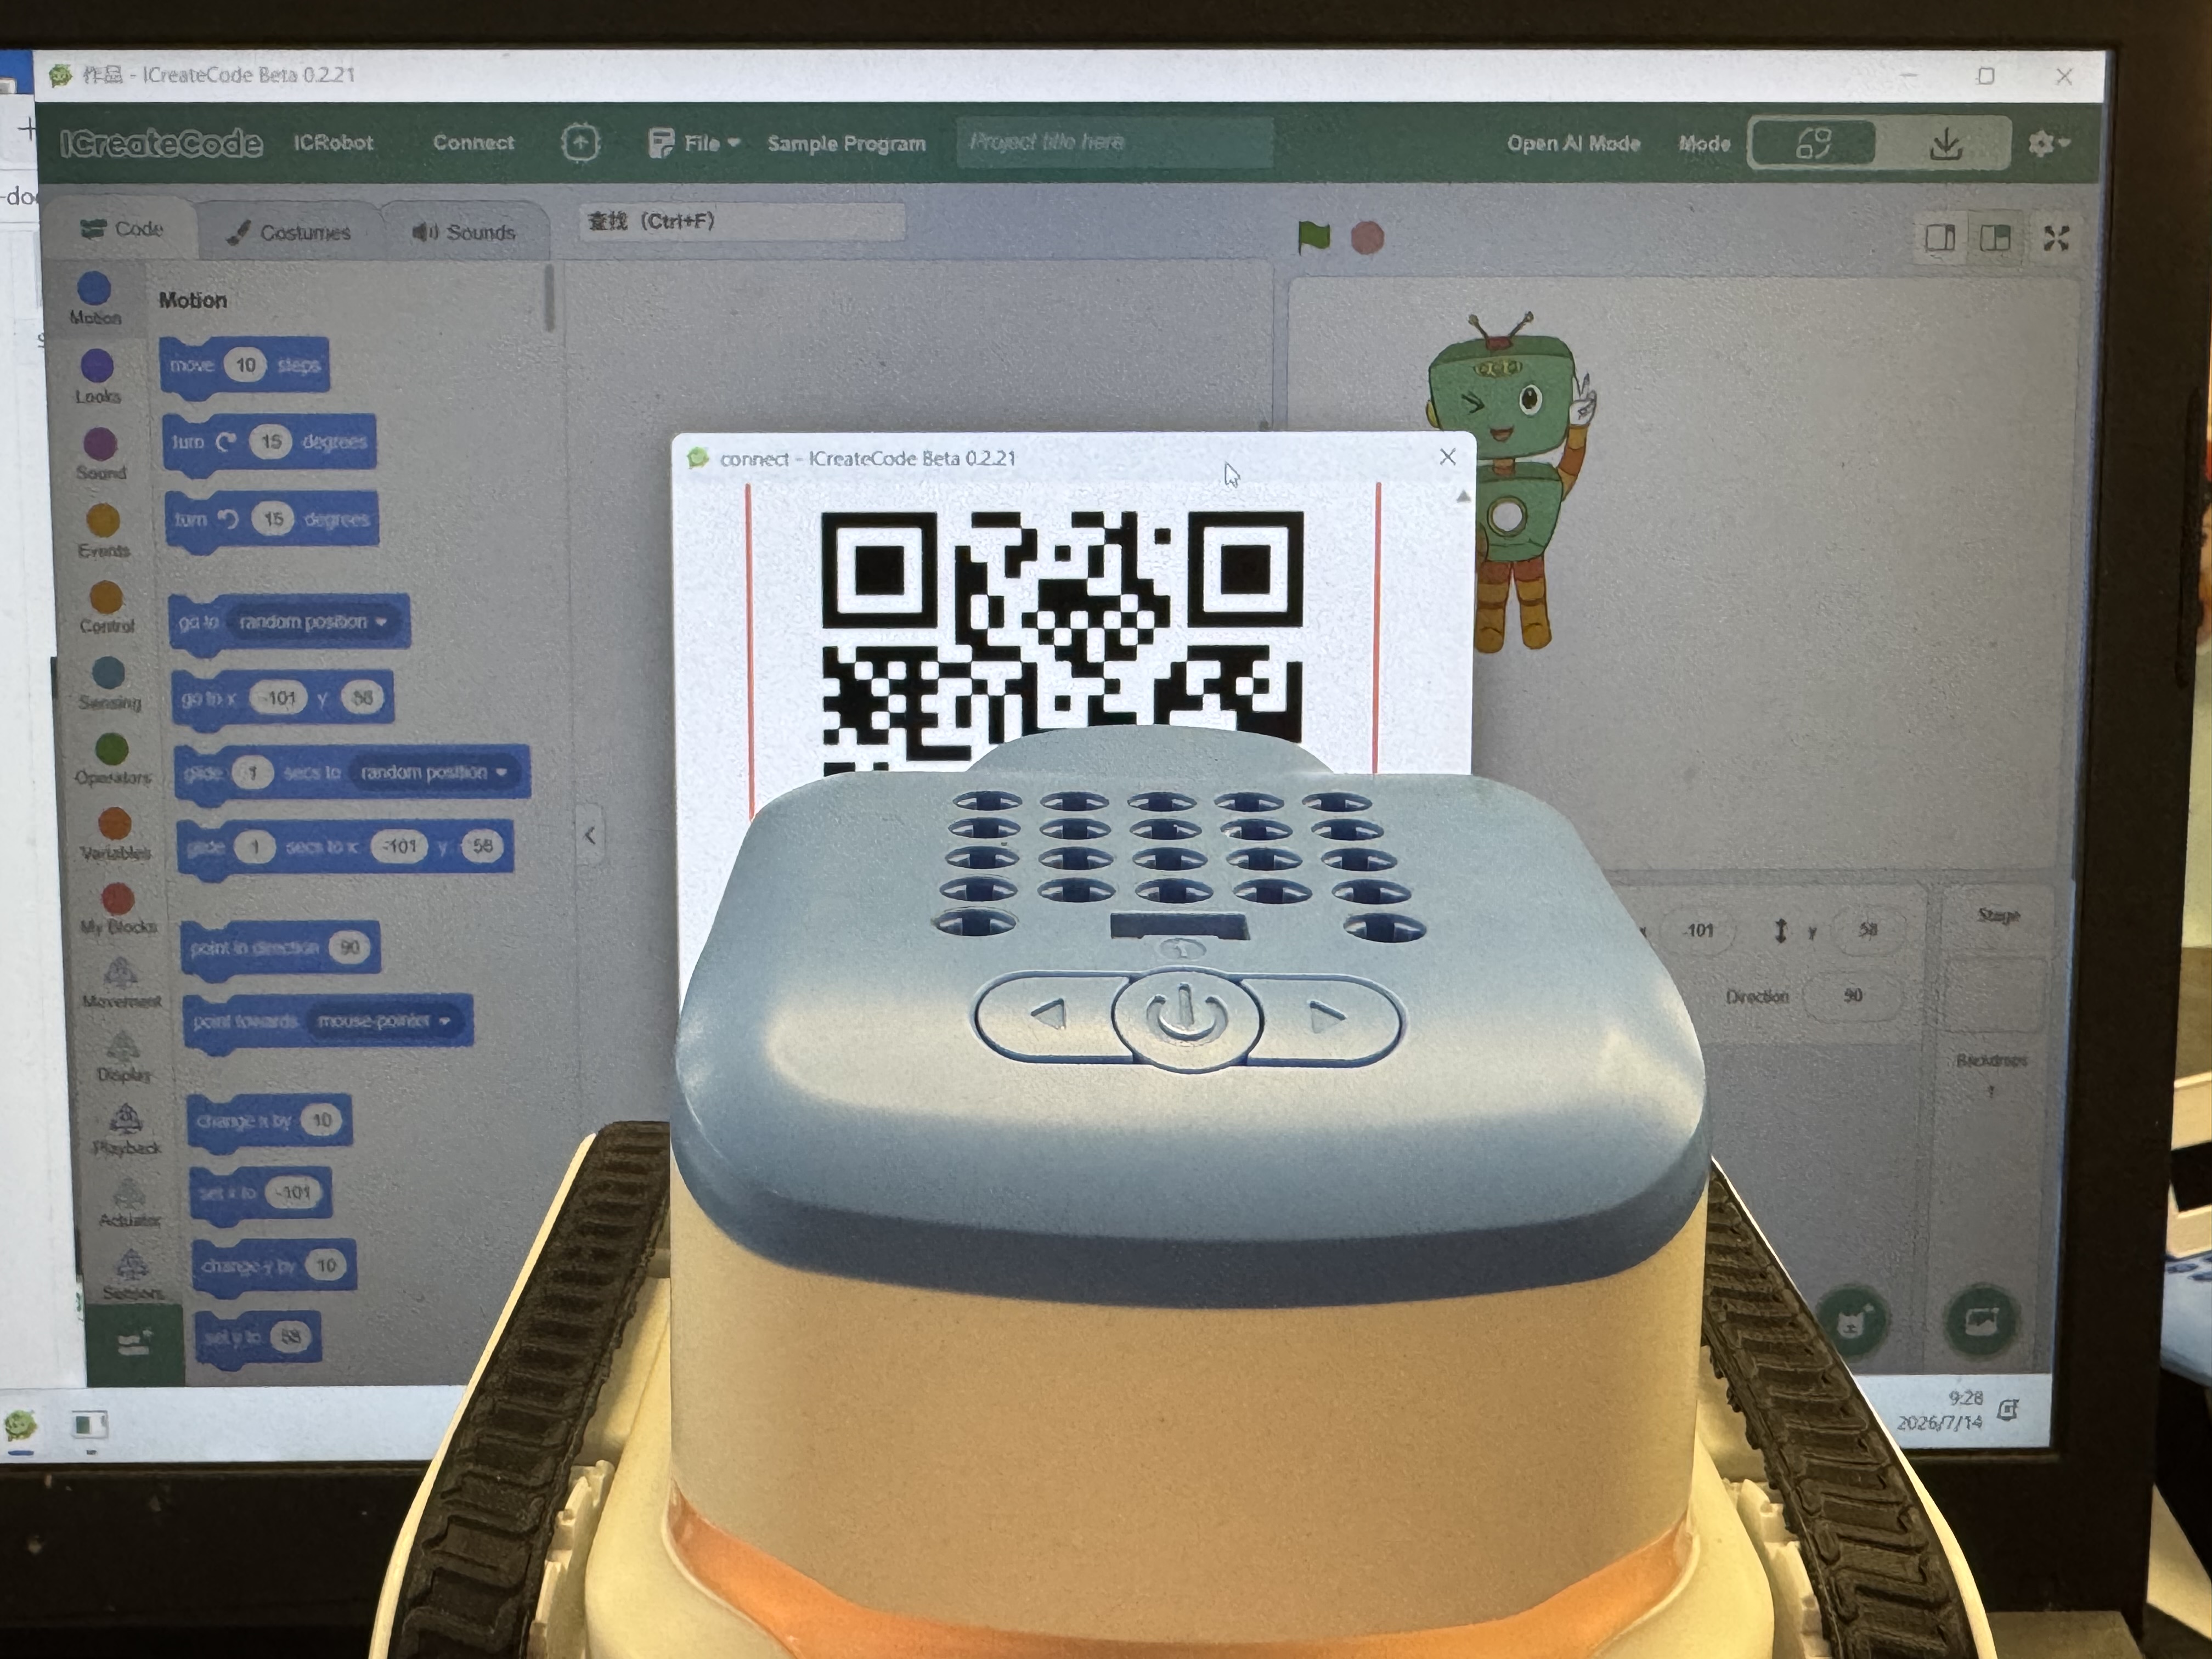
Step 2: Open ICreateCode and choose STA as the connection method. Generate the corresponding QR code. |
|
|
Step 3: Use the robot’s camera to scan the QR code displayed on the screen. |
Step 4: |
|
|
Step 5: Select Slot 3, then click Download. Wait for the message “Download successful.” |
Step 6: Press the robot’s left/right buttons to switch to Program 3, then press |

Demonstration